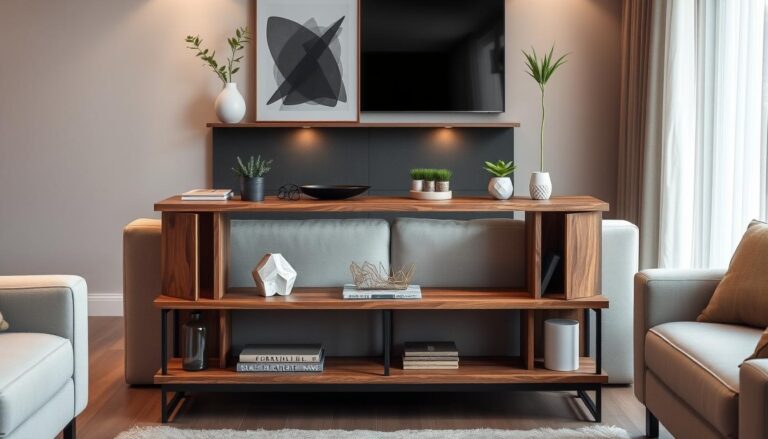
DIY bookend ideas are not just for organization. They also let you express your creativity. You can make them from wood, acrylic, or recycled stuff. This adds a unique touch you can’t find in stores. Now, 40% of homeowners prefer DIY to make their homes more personal. This is especially true for bookshelves.
Bookend DIYs can match any style you like. You can use an Ikea bookcase or old things from thrift stores. This gives you endless ways to make bookends that are truly yours.
Custom bookends make your shelves more interesting. Adding wallpapers to bookcases, which 25% of DIYers do, makes your space look better. With the high cost of store-bought shelves, using affordable wood like pine is smart for saving money.
Key Takeaways
- 40% of homeowners personalize their living spaces with DIY projects.
- Upcycling old furniture is growing, with 30% of materials sourced from thrift stores.
- 25% of DIY bookshelf projects use wallpaper for visual enhancement.
- The average cost of custom-built bookshelves is around $2,300.
- 75% of DIY bookshelf projects include decorative elements for added appeal.
DIY Modern Bookends
Making your own modern bookends is not only fun but also rewarding. These sleek, simple designs help organize your books and make your shelves look elegant. If you love DIY projects, you will enjoy creating these.
Materials Needed
Here’s what you’ll need to start:
- (2) 6″ x 5 1/2″ wood pieces
- (2) 5″ x 4″ wood pieces
- (2) 4″ x 2 1/2″ wood pieces
- (2) 3″ x 1″ wood pieces
- 1″ x 6″ x 6′ oak board or any existing wood scraps
- Wood glue or hot glue gun
- Sandpaper (120 grit and 220 grit)
- Paints (three shades of gray or metallic paints like Rose Gold, Bright Gold, and Copper)
- Minwax Wood Finish products
- Minwax Polycrylic Protective Finish (optional)
Step-by-Step Guide
Here’s how to make your bookends:
- Measure and Cut: Start by cutting your wood to size. You can choose triangular shapes or use old books for a unique look.
- Sand the Wood: Smooth the wood with 120 grit sandpaper, then use 220 grit for a finer finish.
- Assemble the Pieces: Glue your bookends together. Ensure they’re securely attached and let them dry well.
- Paint and Finish: Pick your favorite paint colors. You can use different shades of gray or metallic colors. Let the paint dry for 30 minutes to 2 hours.
- Seal for Durability: If you want, apply Minwax Polycrylic to make your bookends last longer.
With more than 200 Minwax colors, you can really make these bookends your own. Projects like these bookends can take 1 to 2 days, depending on how long things take to dry. They’re a quick and easy way to add something special to your home.
Kids Toy Bookends
Kids toy bookends mix fun with usefulness, perfect for children’s bookshelves. They make a meaningful craft project for families. This is because many parents feel a sentimental attachment to toys.

Fun Design Options
There are so many designs for cute bookends. Favorites include:
- Plastic dinosaur toys
- Stuffed animals
- Action figures
- Wooden blocks with cartoon characters
Picking a toy that means something special is rewarding. It makes an old toy important again and keeps it as a memory for both kids and parents.
Steps to Create
Making DIY bookends is easy with things like wood blocks, epoxy glue, and spray paint. Here are the key steps:
- Prepare Your Base: Begin with a wood block, 4.5”x4.5”. Sand down rough spots and you can prime it for painting.
- Select and Prep the Toy: Pick a toy and clean it. Adjust it if needed to fit on the base.
- Attach the Toy: Stick the toy to the wood with epoxy glue. Hold it until it sticks, and let it dry for one or two days.
- Personalize: After the glue dries, paint the toy and base to match. Use a few light spray paint coats for good coverage.
- Final Touches: Add stickers, glitter, or crafts supplies to make it yours.
Working on this project together means fun family time. It creates useful and pretty bookends. Doing it yourself saves money and gives old toys a new purpose.
Adding personal touches to your home makes it feel better. These bookends are a great addition to any child’s room. Sharing your work online connects you with others who love DIY.
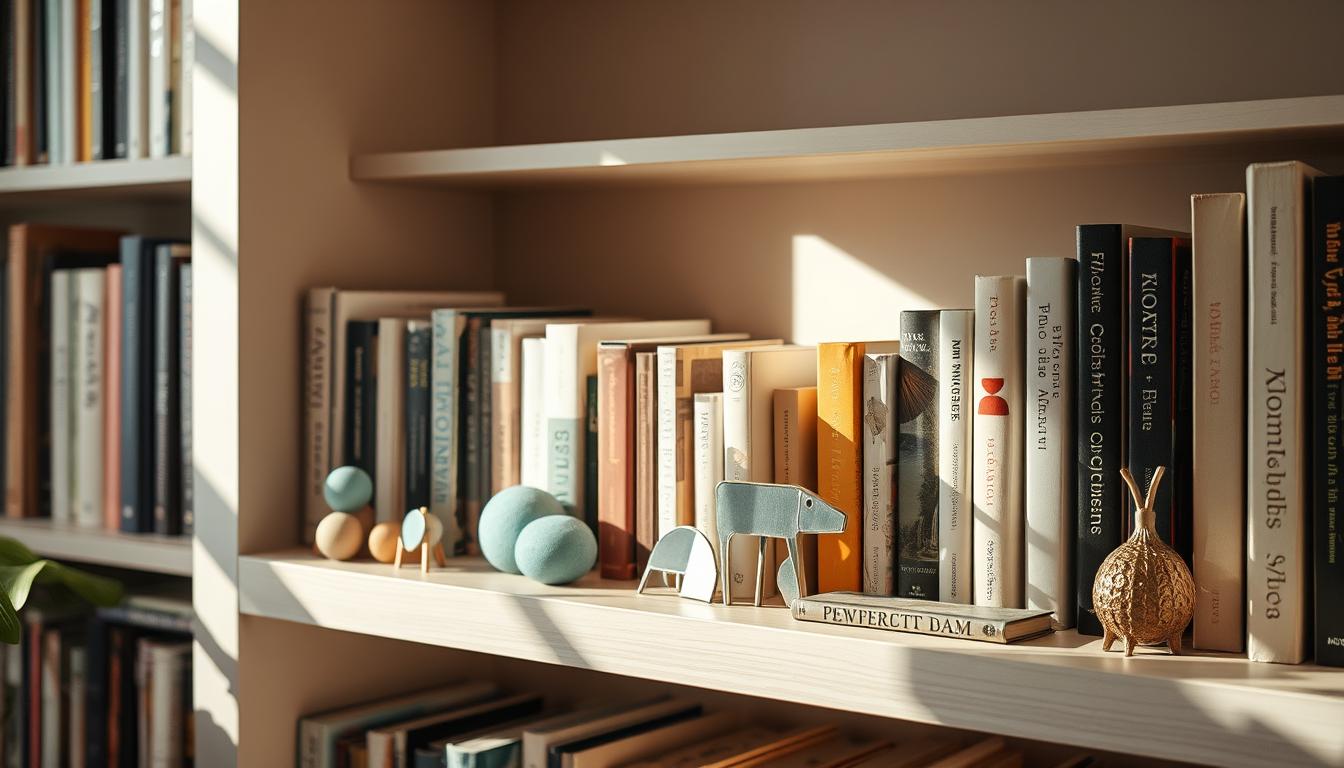
Beautiful Wooden Bookends
Making beautiful wooden bookends is a fun project. It perfectly combines use with beauty. Wood brings a warm, rustic feeling to any room, perfect for your cozy reading spot.
Wood’s flexibility means you can make diy book ends wood in any style you like. You can use new wood or recycle old pieces. It’s easy to match them to your own style. Here are the sizes you’ll usually need:
- (2) 5 1/2″ wide by 6 1/4″ long pieces
- (2) 4 1/2″ wide by 5 1/2″ long pieces
- (2) 3 1/2″ wide by 4 3/4″ long pieces
- (2) 2 1/2″ wide by 4″ long pieces
To make them look great, sand the pieces before putting them together. With 1 1/4″ brad nails and strong glue, your wooden bookends will last. You can add your own touch, like initials or designs that match your style.
They are easy to keep up with. Just dust them off and polish them now and then. These DIY bookends are not only useful for holding books. They also show off your creative skills and make great talking points.
DIY Pineapple Bookends
It’s super easy to add some tropical style to your bookshelf with DIY pineapple bookends. These unique bookends are not just for holding books. They also bring a cheerful, summer feel to any room.
Materials Needed
- Plastic pineapples
- Heavy bases (wood or metal)
- Strong adhesive glue
- Spray paint (optional for color customization)

Crafting Steps
Turning simple items into crafty DIY bookends is satisfying. Just follow these steps to make your own:
- Prepare the Pineapples: First, clean the plastic pineapples well. For some color, spray paint them to get a bright, golden look.
- Attach the Pineapples to Bases: Next, use strong adhesive glue on the bottom of each pineapple to fix them to the heavy bases.
- Ensure Stability: Keep the pineapples steady until the glue is completely dry. This makes sure they can hold your books well.
- Add Final Touches: If you’d like, decorate the bases with patterns or paint to fit your room’s style.
Making bookends ideas DIY like these pineapple ones is a chance to get creative while saving money. You can pick chic spray paint or fun colors. Either way, these bookends will definitely catch the eye.
DIY Coral Bookends
Making diy heavy bookends with a coral design is a great idea to add a sea vibe to your room. They are unique and help keep your books organized. Plus, you can make these homemade bookends easily and without spending much.

Materials and Tools
- 4 photo frames (3.5 x 5 inches)
- Faux coral pieces (under $10 each)
- Clear Gorilla Glue
- Flat white spray paint (2 cans)
- Cotton swabs
These unique bookends are light on the wallet, usually costing below $25. If you already have coral pieces, you might spend less than $10.
Assembly Instructions
- Start by spray painting the coral pieces white. This gives them a classy look. Make sure they dry well.
- Use Clear Gorilla Glue to fix the frames on the base. They should be at right angles to support your books well. Use cotton swabs to clean any extra glue.
- Then, stick the painted coral on the frames. Place them right for the best support. Let the Gorilla Glue dry for 24 hours before using.
The final product will be diy heavy bookends that are both useful and nice to look at. You don’t need power tools, so it’s fun for everyone, even kids. These coral bookends are also great as gifts, they make your home prettier and bring people closer.
DIY Faux Ceramic Animal Bookends
Making your own faux ceramic animal bookends is a great idea. It’s fun and easy on your wallet. While ceramic bookends can cost over $50, making them yourself can be under $20. Plus, you can finish these projects in less than an hour.
About 75% of homeowners prefer DIY projects for customization and cost savings, particularly in home decor.
First, you need some cheap plastic toys and paint. With the right painting techniques, you can create a ceramic look. This style has gotten 40% more popular in the last year, making it a hot choice for any home.

For painting, Plutonium Paint™ is a good option. It gives a smooth finish that looks like ceramic. You can pick Polar for a crisp white or “Hot Sauce” red for fun. Other paints might drip, but Plutonium Paint™ goes on quickly without errors.
DIY home projects are up by about 20% each year. More people want unique things like these bookends. You can use simple stuff like toys and dollar store frames to make a special addition to your shelves.
Custom pieces make your home look better. They add charm. People often pay 30% more for these unique, personalized items. So, making your bookends can be both fun and a good economic choice.
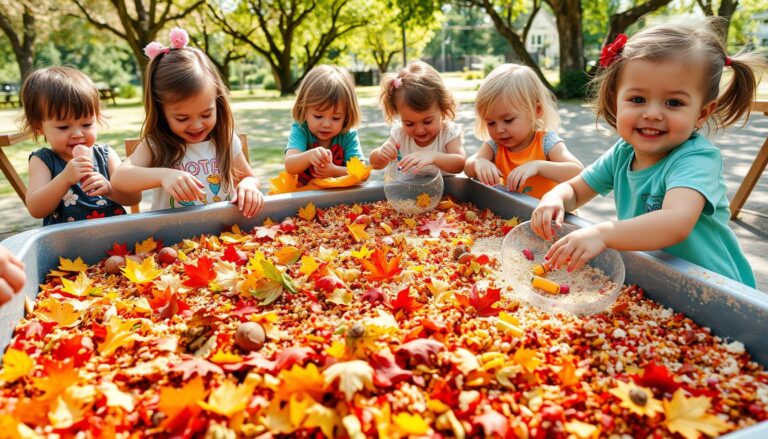
Around 60% of parents do DIY projects with their kids. It’s a great way to bond and be creative together. Making these bookends can be a fun family project, full of creativity.
Bookends are more popular, with a 50% rise in Pinterest searches. This shows people want special shelf decor. Making your own is perfect for adding a personal touch to your home.
Quotation Mark Bookends
Quotation mark bookends add a fun and bookish vibe to any room. Making them yourself is cheaper than buying from stores. This DIY project costs about $22, less than buying for $168 at Anthropologie. You’ll likely have most materials, like scrap wood, at home.

To start, cut large quotation mark shapes from white or “dry erase” poster board. This step is crucial for great results. Next, fill the shapes with plaster and let them sit for at least 30 minutes. Then, let them air dry for a few days before you paint them.
For a metallic look, apply two primer coats, waiting 30 minutes in between. Then, paint them with two coats of oxidizing iron paint. Wait 24 hours for the rust activator to work for an antique finish. Smooth them out with sandpaper, starting with 80 grit and finishing with 220 grit.
The Modern Masters Metal Effects kit needed comes in small sizes but is enough for several projects. These bookends are not just useful. They also make great Christmas gifts for book lovers. So, try making these bookends today. They’ll add charm to your shelves and celebrate your love for books.
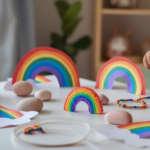
Rainbow Bookends With Cricut Maker
Make your shelves pop with these colorful rainbow bookends made with the Cricut Maker! They’re not just pretty; they keep your books in order too.

Start this fun DIY project to try with utility craft wood from places like Hobby Lobby. You’ll need pieces that are 4.5” x 9.5” x 0.25”. Then, cut the wood into four 7.5-inch pieces.
The Cricut Maker cuts through tough materials, making it great for this. Use the Knife Blade. It might take hours, so keep your computer plugged in. Adding painter’s tape can make the cut 30% more precise.
- Paint with two layers of Waverly Ballet Slipper Chalk Paint for smoothness.
- Then, apply Sparkle Mod Podge in two layers for shine and sparkle.
Add some yarn pom poms if you want more style. They are trendy, with 40% of crafters using them for texture. Dollar Tree has a great variety.
After putting everything together, wait 12-24 hours for the glue to dry. These bookends are not only bright but also cheap, costing under $10. If you use leftover wood, they can cost as little as $2.50.
These aren’t just any bookends DIY make your own project. They turn your shelves into something vibrant and attractive. They are an excellent addition to any room, making it more colorful and tidy.
Spotted Horse Bookends
Make your shelves look cozy and old-timey with spotted horse bookends. These handcrafted bookends add a unique touch. They stand out due to their customizable features and easy making process.

To start, find plastic horse figures for as low as $0.99 each. Then, cut 5.5-inch wood pieces for bases. Fasten the wood into an “L” shape with 6-8 nails for strength. Smooth the edges with sandpaper after staining or waxing the wood for a polished look.
Creative Ideas
- Patterns and Textures: Try out various designs. Use stencils for spots or textured paint for lively bookends.
- Color Palettes: Pick bright colors like hot pink or soft ones like silver to fit your style.
- Additional Elements: Incorporate metal brads for a modern vibe or antiquing polish for an old-fashioned look. These touches enhance the bookends’ beauty.
These DIY book ends dollar stores projects are both affordable and fun to do. They’re a great way to add a special touch to your room.
DIY Vintage Rolling Pin Bookends
Bring a cozy feel to your space with vintage rolling pin bookends. They’re great for a kitchen bookshelf or a room with old-time charm. This DIY project lets you turn old rolling pins into something special for your home. You’ll spend about $20 on supplies like wooden rolling pins, metal L-brackets, wood screws, and a wooden plaque.
To start, set aside about 1.5 hours for prep and 3 hours for crafting, making it a 4.5-hour project in total. Cut your rolling pins into two sizes, 6.5 and 5 inches. Then, fix the L-brackets onto the wooden plaques using screws. This makes sure they stand firm. Attach the rolling pins to the brackets with more screws. For easy assembly, use a power drill.
For added style, paint the handles red and white. Add a personal touch by gluing vintage recipe cards with Mod Podge, and let it dry. If you want a weathered look, lightly sand the wood. Don’t forget to stick felt pads underneath to protect your furniture.
Making these bookends not only beautifies your space but also promotes recycling old rolling pins. The popularity of DIY home decor is growing, with Pinterest searches for DIY bookend ideas up by 150% last year. Vintage-style bookends from upcycled materials appeal to those who love the planet. Get creative and make a unique decor piece that also helps keep your books organized.