Who says rainbows are just for rainy days? Bring the spectrum of color into your home with creative crafts designed to ignite curiosity and imagination in children! Colors fascinate us; they’re magical and can evoke a spectrum of feelings — joy, wonder, excitement, and intrigue. For children, rainbows are a perfect gateway to explore creativity, learn about science, and engage in countless hours of hands-on experiences. Rainbow-themed activities not only foster creativity and imaginative thinking but can also be an excellent way to support STEM learning. Here, you’ll find 12 creative rainbow craft ideas that spark wonder and are perfect for beautifying spaces while offering valuable learning opportunities.
1. Rainbow Mobile Craft
Encourage children’s creativity by guiding them to make a stunning rainbow mobile that can add a splash of color to any room.
Materials Needed
To create your rainbow mobile, gather the following materials:
- Colored paper (in a variety of colors)
- Scissors
- Glue or double-sided tape
- String or thread
- A hanger or a metal hoop for the mobile’s structure
- Optional: beads, feathers, or other embellishments for added flair
Step-by-Step Instructions
- Cut the Paper: Using scissors, cut your colored paper into strips or different shapes like circles, triangles, or stars. Ensure each color of the rainbow is represented.
- Assemble Your Mobile Pieces: Arrange the colored pieces on a flat surface to determine the order and design of your mobile. Consider alternating shapes and colors to create an engaging pattern.
- Attach to String: Using glue or double-sided tape, attach each paper piece to the string or thread, leaving some space between each one.
- Create the Mobile Structure: Tie the strings onto the hanger or metal hoop at varying lengths to add depth and dimension to the mobile.
- Add Embellishments: If desired, thread beads or other embellishments onto the strings for added effect.
- Finalize and Hang: Secure the strings visually and ensure everything hangs correctly. Find the perfect spot to hang your mobile — near a window where it can catch the sunlight, perhaps, for maximum visual impact.
Notes
- Hanging Tips: Experiment with hanging the mobile near a light source, where it can cast colorful shadows, or above a child’s bed as a dreamy decoration.
- Adaptable: This craft can be adapted by adding reflective paper or shimmering sequins for an enhanced visual appeal.
Picture This
Imagine a sunlit room with beams of light filtering through colorful paper designs, casting colorful shadows on walls and floors. Watching the mobile gently sway, children can appreciate how art and environment interact to create serene and magical moments.
2. DIY Rainbow Art Craft
Empower children to express their creativity by painting their very own rainbow artwork. This activity promotes experimentation with colors and techniques, fostering both independence and boldness in artistic expression.
Materials Needed
Prepare the following for this vibrant activity:
- Watercolors or acrylic paints
- Paintbrushes in varying sizes
- Canvas or thick paper
- A palette for mixing colors
- Water container for cleaning brushes
- Old newspapers or plastic to cover the workspace
Step-by-Step Instructions
- Prepare the Workspace: Cover the area where you will be painting with newspapers or plastic to prevent any messes.
- Select Your Medium: Depending on preference and the age of the child, select either watercolors for a translucent effect or acrylics for vibrant, opaque colors.
- Design the Rainbow: On a blank canvas or thick paper, outline the shape of a rainbow lightly with a pencil.
- Paint the Arches: Using different brushes, begin with the red arc and continue layering each color of the rainbow.
- Mix and Blend: Experiment with mixing colors on the palette for added depth and blend different shades onto the canvas.
- Add Texture: Encourage children to use different brush techniques, like dabbing or dragging for added texture and depth.
- Final Touches: Allow the painting to dry before adding any additional fine details, like clouds or stars, around the rainbow.
Notes
- Technique Variety: Encourage children to try different techniques, such as using sponges for stamping or splattering for an abstract touch.
- Display Ideas: Once dried, showcase the artwork in a well-lit area like a hallway or in the child’s room to boost confidence and creativity.
Picture This
Picture a child’s masterpiece hung proudly on the refrigerator or wall, the colors swirling like a dreamy landscape of endless possibilities. A place where every shade tells a story, and every brushstroke serves as a chapter in the artist’s evolving creativity.
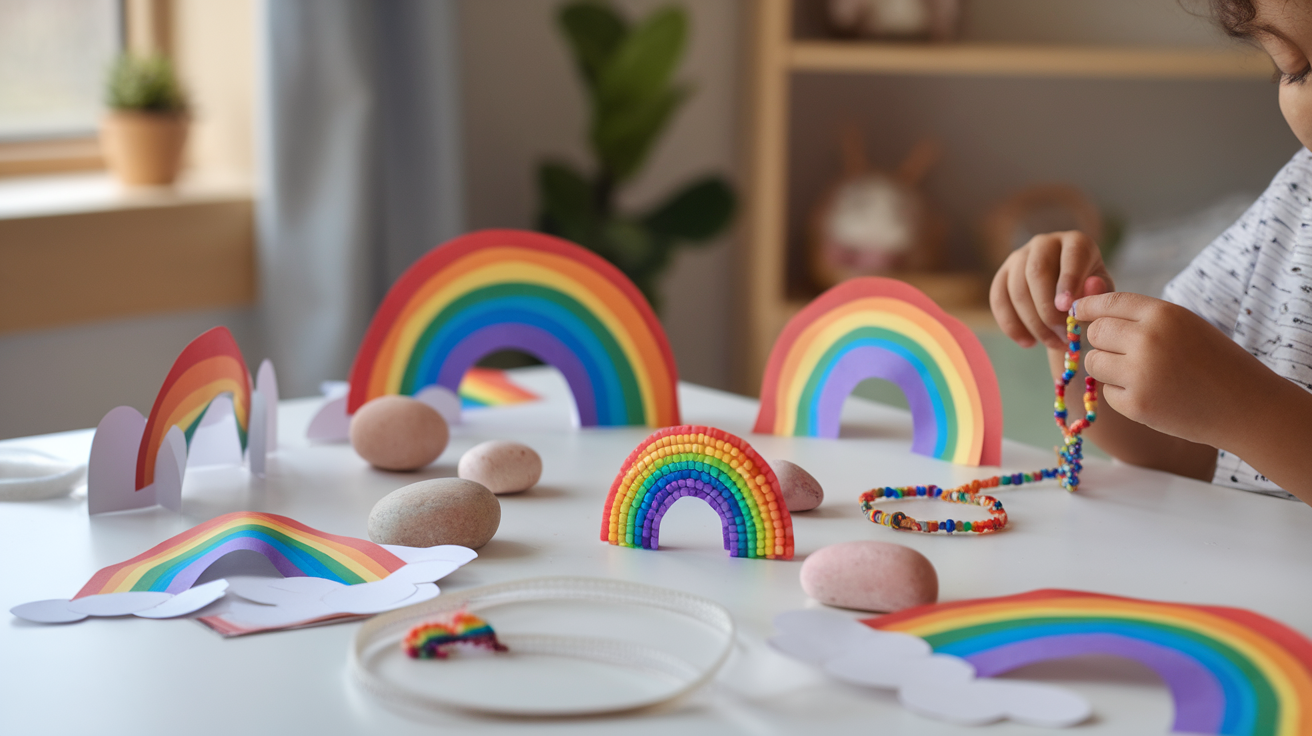
3. Paper Rainbow
A deceptively simple yet highly effective craft, creating a rainbow using colored paper strips is a delightful hands-on project for children.
Materials Needed
For this craft, you will need:
- Colored paper (in each color of the rainbow: red, orange, yellow, green, blue, indigo, violet)
- Scissors
- Glue or a glue stick
- Cotton balls
Step-by-Step Instructions
- Cut the Strips: Begin by cutting colored paper into strips, making sure each color of the rainbow is included.
- Arrange the Strips: Lay out the strips on a flat surface to visualize the rainbow order: red, orange, yellow, green, blue, indigo, violet.
- Form the Arch: Glue the strips end to end to form a half-circle arch, starting with red on the outside and ending with violet on the inside.
- Create Clouds: Use cotton balls to form fluffy clouds at each end of the rainbow, attaching them securely with glue.
- Let Dry: Allow the rainbow to dry completely before displaying or using it as part of a larger project.
Notes
- Decoration Ideas: Incorporate the finished paper rainbow into a springtime collage, frame it for a cheerful room accent, or hang it on windows during seasonal festivities.
- Customizable: Encourage creativity by using additional embellishments like glitter or stickers for added sparkle.
Picture This
Imagine a classroom or playroom filled with handcrafted rainbows, each as unique as the child who created it. Hanging from ceiling beams, lining windows, or decorating bulletin boards, these paper rainbows create a cheery environment that celebrates creativity and the beauty of diverse colors.
4. Growing Rainbow Experiment
Combine art with science in the growing rainbow experiment, using sugar or salt crystals to create an enchanting display that combines patience with a touch of chemistry.
Materials Needed
Gather these materials:
- Sugar or salt
- Food coloring (in rainbow colors)
- Warm water
- Jars or bowls
- String
Step-by-Step Instructions
- Create a Solution: In separate jars, dissolve sugar or salt in warm water until saturated.
- Add Color: Add a few drops of food coloring to each solution, making sure each one represents a color of the rainbow.
- Submerge the String: Cut a piece of string and submerge it into the colored solution.
- Observe the Crystallization: Allow the solutions to sit undisturbed while crystals form on the string over several days.
- Complete the Rainbow: Once crystallization is complete, arrange the strings in rainbow order for a magical display.
Notes
- Lesson in Patience: This activity requires patience, providing a great opportunity to discuss evaporation and crystal formation processes while waiting for results.
- Science Talks: Use this opportunity to discuss the science of crystallization, density, and how temperature affects solutions.
Picture This
Visualize strings coated with dazzling crystals in a spectrum of colors, hanging like jewels in a sunlit laboratory or kitchen window. Children gather around, eyes wide with wonder, as they discover the surprising beauty that can emerge from patience and scientific exploration.
5. Rainbow Water Science Experiment
Delve into the wonders of science with a fun and interactive rainbow water experiment, exploring density and color mixing through vibrantly layered drinks.
Materials Needed
For this scientific craft, you will need:
- Clear cups or containers
- Water
- Food coloring
- A spoon
- Sugar
Step-by-Step Instructions
- Prepare the Solutions: Fill separate cups with water and add different amounts of sugar to each, increasing the amount gradually.
- Add Color: Drop various food coloring into the cups to represent colors of the rainbow.
- Layer the Water: Carefully, pour the denser solution into a large clear cup, continuing with the next least dense solution.
- Observe the Layers: Use a spoon to prevent mixing, slowly pouring one color over another to maintain separation and create rainbow layers.
Notes
- Perfect for Sunny Days: Conduct this experiment outdoors in the sunlight, where the rainbow colors can be fully appreciated.
- STEM Learning: Discuss why colors separate according to density and explore the concept of specific gravity for added information.
Picture This
Envision a row of cups, each representing a layer of the rainbow. As children peer into the liquid stacks, they see the vibrant colors blend yet remain distinct, witnessing firsthand the eye-catching magic of density at play.