Easter is a time of joy and celebration—a season that warmly invites families to come together and share delightful activities. Among the timeless traditions of Easter egg hunts and festive feasts, crafting stands out as a particularly cherished pastime. It offers a creative outlet for both kids and adults, fostering an environment where storytelling, laughter, and the magic of the season come alive in colorful bursts of artistic expression. For those looking to inject a bit of creative flair into their holiday celebrations, crafting an egg topiary presents a perfect opportunity. This delightful project, suitable for all ages, combines the whimsy of Easter with the satisfaction of crafting something beautiful. Best of all, it uses materials easily found at your local Dollar Store, making it an accessible project for everyone.
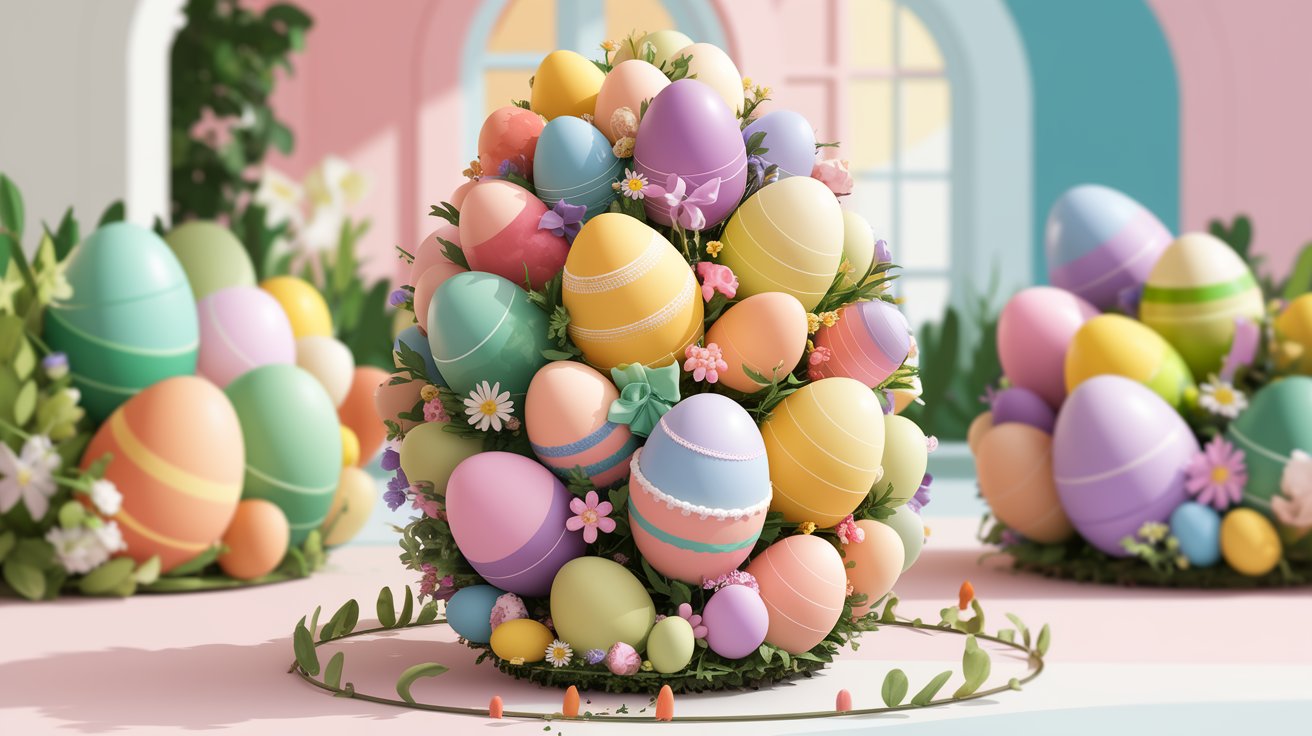
An egg topiary is more than just a decorative piece; it’s a testament to the inventiveness and joy that come with Easter. Featuring vibrant plastic eggs styled effortlessly on floral foam, these topiaries can be personalized with embellishments like ribbons, stickers, and faux flowers, embodying the essence of springtime celebrations. Exciting and straightforward, creating an egg topiary is a wonderful way of involving children in the holiday preparation process, giving them a sense of ownership and pride as their masterpieces brighten the home.
1. Materials Needed
To embark on crafting your Easter egg topiary, you’ll first need to gather some essential supplies. These materials are specifically selected to enhance the crafting experience, making it simple, fun, and efficient. Here’s what you need:
Essential Supplies
- Styrofoam or Floral Foam Balls: These form the core of your topiary, providing the structure around which your plastic eggs will be affixed.
- Plastic Eggs (Various Sizes): Plastic eggs in different sizes add dimension and visual interest to your topiary.
- Wooden Dowels or Skewers: These tools will help anchor your foam ball within the flower pot, supporting the structure of the topiary.
- Flower Pots (Small): Small flower pots serve as the foundation of your topiary, providing aesthetics and stability.
- Easter-Themed Embellishments: Items like ribbon, faux flowers, and stickers allow for a personal touch, transforming the topiary into a unique creation.
- Glue (Hot Glue or Craft Glue): This is necessary for assembling the components and ensuring your design stays in place.
- Paint (Optional for Decorating Pots): Introduce additional color and custom designs by painting your flower pot.
- Decorative Moss or Tissue Paper for Filling: This serves as a base filler, contributing visual appeal and covering the inside of the pot.
- Scissors: Essential for cutting ribbons, tissue paper, and other materials as needed.
- Craft Knife (If Needed for Cutting Foam): This can be helpful in shaping the foam to fit snugly inside your pot if adjustments are required.
With these simple ingredients, you’re fully equipped to dive into the crafting process. Each item plays a pivotal role in creating a cohesive and aesthetically pleasing topiary that brings the vibrancy of Easter right into your home.
2. Step-by-Step Instructions to Create Egg Topiary
Crafting an egg topiary is a thoughtful process that unfolds over several enjoyable steps. Each stage allows you and your kids to express creativity, ensuring your final product is one-of-a-kind. Follow these detailed instructions to guide your crafting experience:
Step 1: Preparing the Base
The first step involves setting the stage for your egg topiary by preparing the flower pot. This step is crucial as it ensures the stability and visual appeal of your creation.
Choose Your Flower Pot:
Select a small flower pot that suits your aesthetic preferences, whether it’s a simple terracotta design or a more decorative ceramic piece.
Filling the Pot:
Fill the pot with decorative moss or tissue paper to create a soft, cushioned base. This not only stabilizes the foam ball but also adds a touch of earthiness and color. Arrange the moss or paper neatly, ensuring the foam ball will sit level within the pot.
Step 2: Assembling Your Eggs
With the base prepared, it’s time to bring your egg topiary to life by arranging the colorful plastic eggs.
Attaching the Eggs to the Foam Ball:
Take your wooden dowels or skewers and gently press them into a plastic egg. Once attached, insert the other end of the dowel into the foam ball. Position the eggs in a pleasing arrangement, varying the colors and sizes to create an eye-catching design. Continue until the ball is fully covered and the entire sphere looks vibrant and full.
Step 3: Decorating the Topiary
Now comes the fun part: embellishing your egg topiary with decorations that reflect your festive spirit.
Adding Embellishments:
Encourage your kids to embellish the topiary with ribbons, faux flowers, stickers, or whatever crafts you have on hand. Let them choose elements that express their creativity and personal style, resulting in a truly personalized art piece.
Step 4: Final Assembly
The moment to see everything come together is a satisfying part of the process. It’s time to place the assembled foam and eggs into the pot.
Inserting and Securing the Topiary:
Carefully place the foam base of the egg topiary into the prepared flower pot, ensuring it sits firmly within the moss or tissue paper. Adjust as necessary to make sure the topiary stands straight and secure.
Tip: Personalization and Patterns
Consider exploring various patterns or color schemes to suit different tastes. Whether opting for a monochrome palette, rainbow hues, or something more muted, the ability to personalize is what makes crafting an egg topiary a delightful endeavor. Encourage children to think about designs beforehand, selecting eggs and embellishments that resonate with them.
Picture This: As you settle the flower pot amidst a vibrant Easter brunch setup, children gaze at their handiwork with pride. The topiary stands as a testament to their creativity; a cascade of vibrant colors, festive motifs, and whimsical embellishments that radiate joy and a sense of accomplishment.
3. Creative Variations of Egg Topiary
Once you’ve mastered the classic egg topiary design, it’s time to explore creative variations that add a unique twist to your Easter decor. These variations allow you to tailor the craft to your personal preferences and potentially extend its use beyond the Easter season.
Easter Bunny Topiary
Transform your egg topiary into a delightful homage to one of Easter’s most beloved figures: the Easter Bunny.
- Materials Needed: Along with the standard supplies, gather bunny ears (cut from felt), a cotton ball for a tail, and faux fur or similar material for bunny decor.
- Creating the Look: Attach the bunny ears to the top of the foam ball, and place the cotton ball at the bottom to mimic a tail. Use faux fur strategically for a plush touch, creating patches that resemble bunny fur.
- Enhancements: Consider using pastel-colored eggs to maintain the whimsical theme.
Picture This: Nestled in a garden nook, the Easter Bunny topiary peeks from behind a bush, its enchanting presence stirring delight in any who pass by.
Pastel Color Theme
Capture the quintessential Easter feel with a topiary that showcases soothing pastel shades.
- Materials Needed: Select plastic eggs in soft pastels such as lavender, mint green, and buttery yellow. Consider using light-colored ribbons and faux flowers to complement this theme.
- DIY Paint Mixing: Encourage kids to paint monochrome eggs in pastel shades using craft paint for added authenticity and variety.
Picture This: The pastel egg topiary rests gracefully on a windowsill, its serene palette perfectly mirroring the gentle bloom of spring unfolding outside.
Nature-Inspired Topiary
For a sophisticated and organic look, incorporate natural elements that blend seamlessly with the eggs.
- Materials Needed: Gather twigs, small leaves, and real or faux small flowers from your garden.
- Assembly: Weave twigs and leaves throughout the egg arrangement, introducing texture and depth. Use floral pieces strategically to mimic blooming branches.
Picture This: Your nature-inspired topiary sits atop a rustic wooden table, an artwork that elegantly bridges the indoors with the vibrant world outdoors.
Seasonal Switch-Up
The beauty of crafting lies in flexibility. Consider how you can transition your egg topiary into a decoration suitable for other seasons or holidays.
- Simple Transitions: Replace Easter eggs with small ornaments for Christmas, or miniature pumpkins for fall. Change embellishments to match the theme.
- Adaptation Ideas: Use a neutral base like white or metallic eggs for versatility; switch embellishments according to seasonal themes with minimal adjustments.
Picture This: The egg topiary transforms beautifully with the seasons, always offering a touch of charm and cheer as it receives new adornments, from festive sprigs of holly at Christmas to maple leaves in autumn.
4. Perfect Pairings: Other Easter Crafts for Kids
Beyond the enchanting world of egg topiary crafting, there are myriad other Easter crafts that can complement and enhance your holiday festivities. These crafts offer further opportunities for creativity, fun, and family bonding:
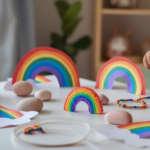
Egg Decorating
A classic Easter activity, decorating eggs offers endless possibilities for personalization and artistic expression. Consider using dyes, stickers, markers, and sequins to create colorful designs. You can also experiment with tie-dye techniques or marble effects using shaving cream and food coloring for a spectacular finish.
Picture This: A long family table scattered with vibrant, beautifully decorated eggs waiting to be admired, each one a testament to the creativity and spirit of its young decorator.
Easter Basket Weaving
Involve older kids in weaving their own Easter baskets using materials such as construction paper or straw. This craft not only results in a charming container for Easter goodies but also doubles as a memorable keepsake.
Picture This: Personalized Easter baskets sitting in a row, each uniquely designed and