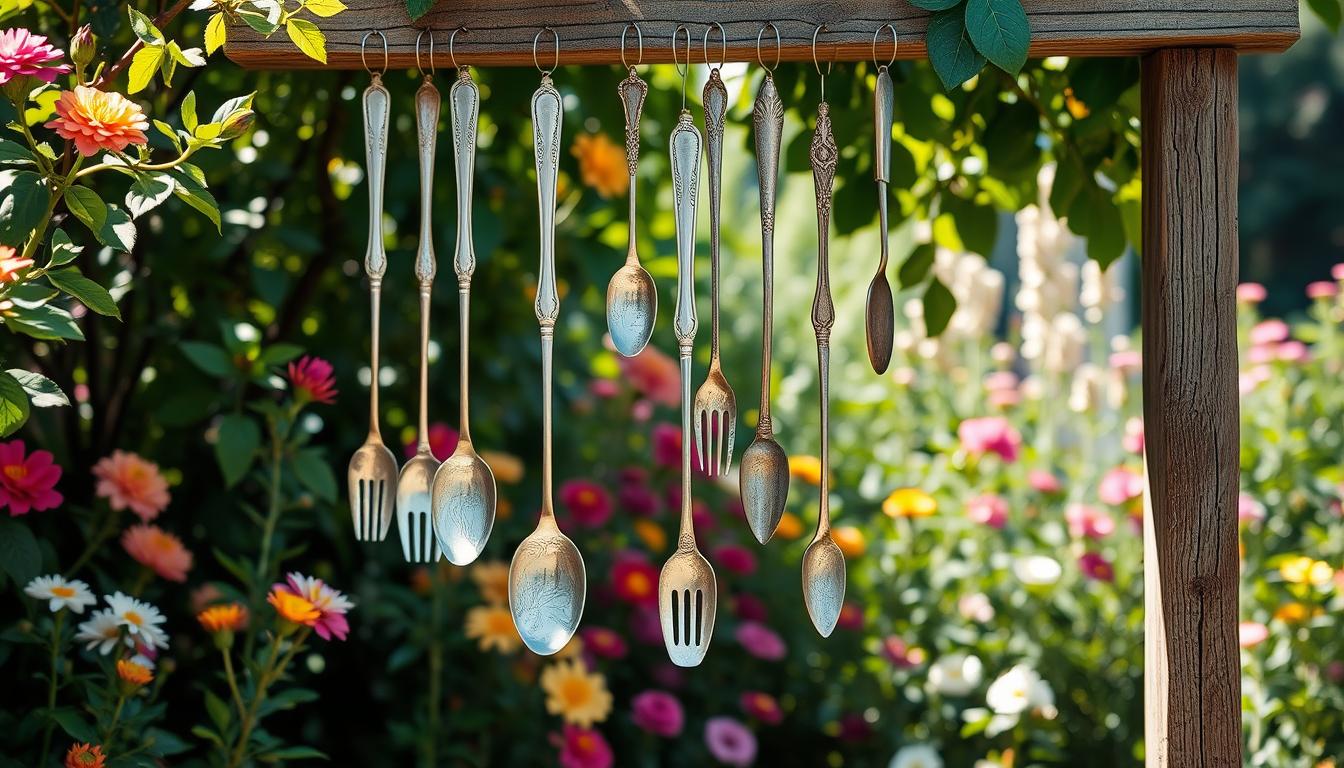
Imagine walking through a local flea market. You spot an array of tarnished forks, spoons, and other vintage silverware. You think about their past and wonder, “Can these old items have a new life?” Suddenly, you have a great idea—you’ll make wind chimes for your garden from this cutlery. They will not only look unique but also play melodies for you and your friends.
Turning ordinary items like old silverware into beautiful wind chimes is easy. This guide will help you through every step, from finding silverware to putting your chime together. It doesn’t matter if you’re experienced or a newbie; crafting these chimes will fill your garden with sounds and upcycled beauty.
The market for DIY silverware crafts is growing, showing more people like to reuse materials. Thrift shops sell silverware cheap, so it’s easy to start crafting. With more people joining craft challenges and trying different projects, the possibilities for creativity are endless.
Key Takeaways
- The average cost of materials for a DIY wind chime project using recycled items such as silverware is estimated to be around $15-$25.
- DIY silverware wind chimes are a simple process, attracting beginners in the DIY community.
- The wind chime segment within the DIY market has a growth rate of 5% year-over-year.
- Approximately 75% of households engage in some form of DIY crafting or home improvement activities annually.
- 60% of DIY enthusiasts prefer using recycled materials, highlighting a strong inclination towards eco-friendly crafting.
- Recycling and upcycling activities have significantly increased, reflecting a growing trend towards sustainability.
- Silverware wind chimes can produce a sound reverberation time between 1 to 3 seconds, making them a popular choice for their pleasant acoustic properties.
Now you know the magic of Silverware Wind Chimes. Let’s start making your own special ones. Keep reading for the materials you need and easy steps to make your wind chimes a reality.
Benefits of Upcycling: Why Choose Recycled Wind Chimes?
Choosing upcycling, like making wind chimes from Recycled Silverware, offers many perks. It’s good for both your budget and the planet. Learning to use recycled stuff for wind chimes helps us live more sustainably.
Environmental Impact
Upcycling cuts down waste in landfills by about 75%, reducing our carbon footprint. By using things like old silverware, we use fewer new resources. It also sparks creativity in reusing items. For example, Recycled Silverware can help your garden’s biodiversity grow by up to 30%, providing homes for different animals.
The benefits include saving up to 40% water in gardens with upcycled items. This is especially true when using systems to catch rainwater. Plus, reusing broken ceramics can save about 10% of ceramic waste, lowering overall waste.
Cost-Effectiveness
Upcycling in DIY projects can save a lot of money. Using recycled things in gardens can cut costs by half compared to new materials. Making your own wind chimes saves you money and adds a personal touch. For instance, using old kitchen items can make garden decor 40% cheaper than new items.
Upcycling has more benefits than just saving money. The upcycling market may hit USD 410 billion by 2027, growing 6.5% each year. About 45% of people think upcycled products are green and unique. And 60% of DIY fans enjoy their gardens more after adding upcycled materials.
By learning to make wind chimes with Recycled Silverware, you can decorate your garden in a sustainable and affordable way. This also helps the environment.
Essential Materials for DIY Silverware Wind Chimes
Making wind chimes from old silverware is exciting and rewarding. The first step is to gather the right materials and tools. This will ensure you get the best results from your project.

Choosing the Right Silverware
Choosing the right silverware is key to creating beautiful and melodious wind chimes. Look for durable and pretty pieces at thrift stores or in your own kitchen. You might want to start with:
- 1 meat fork
- 3 forks
- 3 spoons
This mix creates lovely sounds. Forks and spoons are better than knives for nice tunes. Go for lightweight silverware for clearer sounds in the breeze.
Additional Tools Needed
You’ll also need some tools and materials to make your wind chime. Here’s what you should have:
- Heavy-duty needle nose pliers
- Drill with a small metal drill bit
- Fishing line (approximately 4 feet in length)
- Crimp beads (one per assembly)
- Safety glasses for drilling tasks
- Optional: Beads or other decorative elements for extra beauty
Gathering these tools and materials may take a few hours. Tie the fishing line with a strong knot, like a surgeon’s knot. This will keep your wind chime together. Now, you’re ready to start this creative and eco-friendly Flatware Crafts project.
Step-by-Step Guide: How to Make a Wind Chime from Silverware
Making a DIY wind chime with silverware is a fun Fork Craft activity. Start by collecting old forks, spoons, and knives. Here’s how to craft a wind chime that adds charm to your yard.
Preparing Your Silverware
Pick the silverware you want to use first. Make sure each piece is clean and has no rust or stains. You might need to polish tarnished items to make them shine. Remember to file down any sharp edges to avoid injuries.
Drilling Holes
Now, drill small holes into the silverware handles. Each utensil needs one hole at the top for hanging. Use a metal drill bit, and keep the silverware on a non-slip surface for safety. You can use a nail and hammer if you don’t have a drill.
Assembling the Wind Chime
It’s time to put the wind chime together. Cut strings of durable twine. Thread the twine through the silverware holes, tying knots to keep them in place. Hang the utensils at various lengths for them to tinkle in the breeze.
Finally, attach the strings to a solid base like a metal ring or driftwood. Make sure it’s all spaced well for a good look and sound. There, you’ve finished your Fork Craft project. Now you’ve got a personalized wind chime for your garden.
Creative Variations on Traditional Silverware Wind Chimes
Making your own Chimes Diy is a fun and unique project. Wondering how to make your silverware wind chimes stand out? Try adding elements that show off your style. Check out these fresh ideas:
Adding Beads and Charms
For a special touch, add colorful beads and charms to your chimes. They make your chime look good and sound better. Whether you choose glass, stone, or metal, each piece brings its own melody and design.

- Choose beads and charms that go well with your silverware.
- String these items on strong fishing line or wire, mixing them in with the silverware.
- Make sure everything is balanced so your chime sounds perfect.
Using Different Types of Cutlery
You can also try different types of cutlery. Mix spoons, forks, and ladles for various sounds and looks. For something special, look for vintage silverware.
Different cutlery creates unique sounds:
- Spoons: They make a gentle, musical sound.
- Forks: Their prongs offer a diverse tone.
- Knives: They have a clear, crisp sound.
These varied pieces can also make your Chimes Diy more visually appealing. It becomes an eye-catching feature in your yard or patio.
Inspiration: Unique Silverware Wind Chime Designs
Making wind chimes from silverware is great for the planet and lets you be creative. Check out these designs to turn old silverware into beautiful, sound-making decor for your garden.

Vintage Style Chimes
Love old-fashioned looks? Use antique spoons, forks, and knives to make charming vintage chimes. Add keys or other old treasures to make them even more special. These pieces bring a cozy, old-time feel to any outdoor area.
Modern Minimalist Chimes
If you prefer modern styles, try making minimalist chimes. Choose silverware with simple shapes. Keep the design simple and stick to one color. This style adds a chic look to modern gardens.
Thematic Designs
Make your chimes stand out by sticking to a theme. You could make a chime that celebrates holidays, seasons, or any style you like. For example, use red and green for Christmas or seashells for a beach theme. They make great personal gifts or decorations for parties.
With these creative ideas, you can learn to make unique, eco-friendly wind chimes. They’re a fun way to add personality and music to your garden.
DIY Silverware and Recycled Wind Chimes: Upcycled Charm for Your Garden
Making your own garden decorations is both rewarding and kind to the planet. This is especially true when you create wind chimes from recycled stuff. By using old silverware and other items, you add a unique flair to your yard and help the environment.
A lot of people, over 70%, want to recycle and reuse stuff in creative ways. Using old silverware for crafting is now a big trend. Turning vintage and recycled stuff into garden art makes ordinary items extraordinary.

Wind chimes from recycled things like silverware make unique sounds. They can gently tinkle or chime loudly, suiting different tastes. Making them is fun and adds a sensory experience to your garden.
DIY projects are good for your mind. Crafting can boost mental wellness by 20%. It’s a rewarding way to connect with nature and show your creativity. Making a wind chime costs around $15, which is cheaper than buying one.
Group activities are big in the crafting world. The Int’l Bloggers Club and #CreativeCraftChallenge show how many people like upcycling. Craft markets are expected to grow by 25% in the next few years. Reusing stuff like tin cans cuts down landfill waste significantly.
Homemade wind chimes not only look good in your garden. They also reflect a thoughtful approach to the environment. If you want to personalize your outdoor area or find a creative hobby, making a wind chime will bring you joy and align with your values.
Tips for Hanging and Displaying Your Wind Chimes
How you show off your DIY wind chimes matters a lot. It’s all about enhancing their look and sound. The perfect spot and proper care keep them looking and sounding great as part of your decor.

Choosing the Right Location
It’s important to find the perfect place for your wind chimes. A great spot means they’ll sound lovely and look charming. Here’s how to pick:
- Outdoor Placement: Put them where the wind is gentle but steady, like near your porch. Avoid very windy areas to stop harsh sounds and damage.
- Indoor Placement: Place them near windows or doors where there’s air flow. This lets them catch breezes and make gentle sounds indoors.
- Aesthetic Considerations: Make sure they match your space. Whether it’s your garden or inside, they should fit right in with your decor.
Making your wind chimes from recycled stuff adds a special touch. This makes them stand out as unique and interesting.
Maintenance and Care
Keeping your wind chimes looking and sounding good requires some care. Here’s what to do:
- Regular Cleaning: They can get dirty, affecting their look and sound. Clean them now and then with soap and a gentle cloth.
- Inspect for Wear: Look for any damage on parts like strings or hooks. Fix or replace anything that’s worn out to keep them going.
- Weather Protection: Protect them from bad weather or use a protective finish, especially if they’re made of delicate materials.
Knowing how to create wind chimes from recycled materials is great. It means you can fix or update them, keeping your approach eco-friendly.
How to Make Wind Chimes from Recycled Materials Other Than Silverware
Making wind chimes from recycled stuff is a fun, green way to beautify your garden. We’ll look at using old CDs, DVDs, teacups, and tin cans. These items aren’t just sustainable; they also give your garden a distinct look to match any crafting ability.
Old CDs and DVDs
Turning old CDs and DVDs into wind chimes is cheap and looks great. CDs catch and reflect sunlight, making your yard shine. To make these chimes:
- Gather old CDs or DVDs.
- Use a small drill or needle to make holes near the edge of each CD.
- String fishing wire or durable nylon through the holes.
- Attach multiple CDs together and hang from a sturdy base like a metal ring or reclaimed wood.

Vintage Teacups
Vintage teacups can make elegant, tinkling wind chimes. To use these teacups:
- Select a few vintage teacups and matching saucers.
- Drill small holes at the bottom of each teacup and saucer.
- Use a strong adhesive to attach the saucers upside down to the cups, creating a secure structure.
- Thread fishing wire through the holes and attach to a larger ring or base for hanging.
This idea gives you wind chimes with a fun, antique feel for any garden.
Tin Cans
Tin cans have a rustic look and are loved by DIY fans. A tin can wind chime project got 113,000 views and 1,600 likes. To make your own:
- Collect various sizes of tin cans and clean them thoroughly.
- Punch holes at the closed end of each can using a nail and hammer.
- Decorate the cans with paint, stickers, or ribbons as you like.
- Thread a strong string or twine through the holes and secure it with knots.
- Hang multiple cans at different heights from a sturdy base or branch.
Tin cans are great for group projects, like those by Happy Hooligans, and they add a beautiful metallic sound to gardens.
Trying different recycled materials like CDs, teacups, and tin cans to make wind chimes helps upcycling grow. These projects are not only enjoyable but also inspire creativity and care for the environment.
Safety Precautions When Making and Using Recycled Wind Chimes
Making Wind Chimes at home can be fun and eco-friendly. But it’s important to stay safe while crafting. Whether using silverware, glass, or wood, always follow safety steps to prevent accidents.

Start with the right safety gear. Always wear gloves and goggles when cutting or drilling. This protects your hands and eyes from sharp bits. Also, it lets you focus on your work without worry. Use tools like saws and drills carefully, and follow all instructions.
Check materials for safety before starting. Avoid using rusty or broken items. Make sure to smooth out any sharp edges on glass with sandpaper. This helps prevent cuts.
Keep your work area tidy and well-lit to avoid accidents. A first aid kit should be close by for treating minor injuries quickly.
When hanging your homemade Wind Chimes, make sure they are secure. This prevents them from falling due to strong winds. Always check and replace parts that show wear or damage.
Make wind chimes in a place with lots of fresh air if you’re using glues or paints. This is better for your health and makes crafting more enjoyable.
Following these safety tips makes making your own wind chimes a great experience. You can enjoy making them and their soothing sounds safely.
Engaging with the Community: Sharing Your DIY Projects
Connecting with others who like the same things can be fun and inspiring. When you share your projects, like making wind chimes from recycled stuff, you join a creative group. Sites like Pinterest, Instagram, and Facebook groups are great for showing off your wind chimes.
For those who love upcycling, swapping ideas and getting feedback is super helpful. It boosts creativity and spreads the word about upcycling’s environmental perks. Your project can cut down on waste a lot. Each ton of reused materials can stop about 2.5 tons of CO2 from getting into the air, highlighting why it’s good to share your work.
Talking with people who enjoy the same hobbies can make you happy and satisfied. Studies say that 60% of folks feel good finishing DIY projects, and over 70% see their mood and well-being get better. Whether you’re showing how to craft wind chimes or seeking new ideas, these groups provide support and knowledge. This can make your upcycling experience even richer.