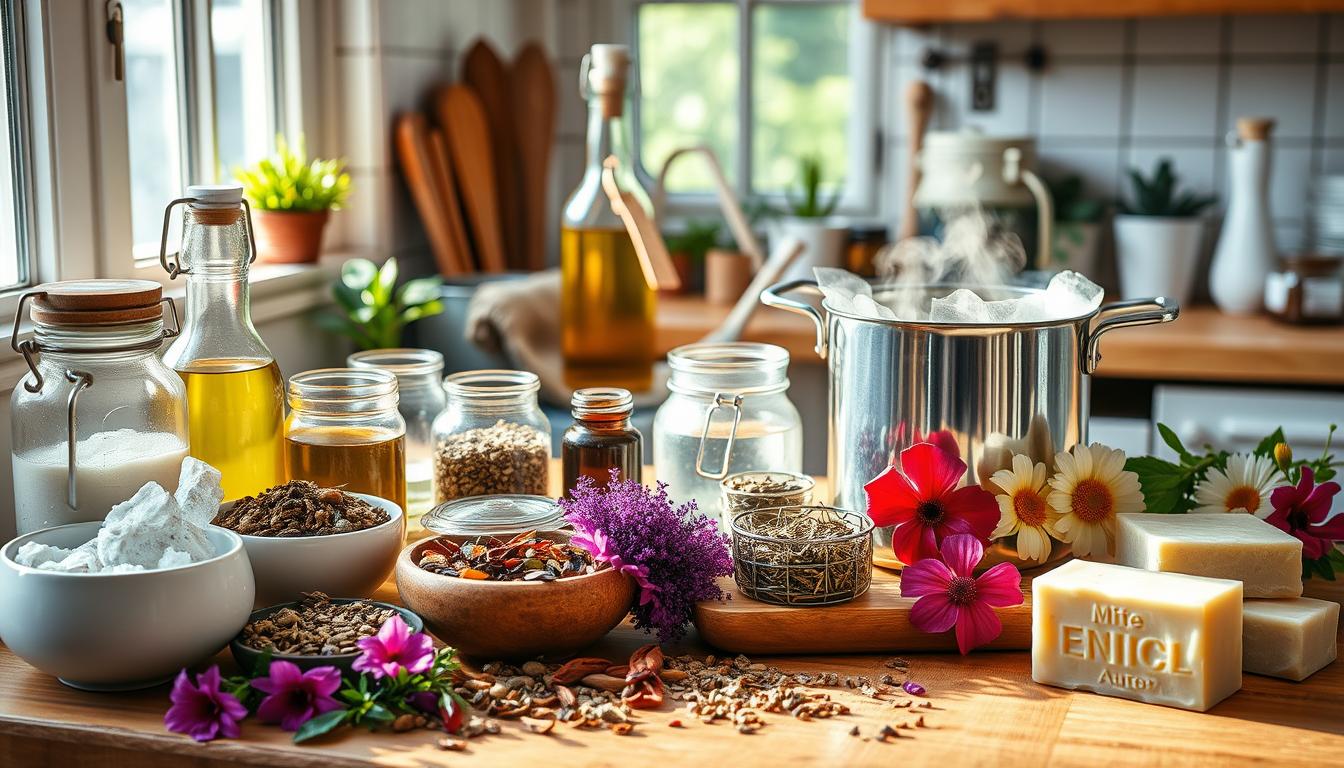
Imagine you’re in your kitchen, the air filled with the wonderful scents of essential oils. You’re holding a wooden spoon, stirring a pot of creamy, homemade soap. This was a common scene for many, including Laura Vanderkam, who started making DIY soap years ago. Laura was tired of harsh chemicals in store-bought soaps. She was inspired by old traditions to make her own soap at home. This decision led to a new family tradition. Every holiday, they gave out handmade, personalized soaps as heartfelt gifts.
Home soap making lets you be really creative. You might like the rich feel of shea butter, the calm smell of lavender, or how oatmeal gently scrubs your skin. You can make homemade soap recipes that fit what you need and like. The best part about learning how to make soap at home is its simplicity and the happiness it brings. You don’t need to be a chemistry expert to make your own soaps. You just need to know the basics and let inspiration do the rest.
Homemade soap is more than a fun DIY project. It gives you a chance to make something gentle for your skin and better for the environment. This guide will show you the key ingredients you need for soap making. It will explain how each ingredient helps make the perfect soap bar.
Key Takeaways
- Homemade soap making allows for customization of ingredients and fragrances.
- Soap is essentially a mix of fats or oils with an alkali like lye, undergoing saponification to form the final product.
- Sweet almond oil is a popular ingredient due to its skin-nourishing properties and rich conditioning lather.
- Choosing high-quality oils and butters can enhance the benefits and aesthetics of homemade soap.
- DIY soap making can be both fun and cost-effective, turning into a fulfilling hobby or even a business venture.
Choosing Your Homemade Soap Base
Choosing the right soap base is key for making quality, personalized soaps. With options like glycerin to shea butter and goat milk, your selection affects the soap’s look, feel, and lather.
Types of Soap Bases
There are many soap bases, each helping different skin types and desires:
- Glycerin Melt and Pour Soap Base: Known for its versatility and moisture. It’s rated 3 out of 5 for lather and is good for aging skin due to glycerin.
- Shea Butter Soap Base: It’s very moisturizing with 5% shea butter. The lather rating is 3 out of 5, and it feels creamy, perfect for dry skin.
- Goat Milk Soap Base: Famous for its luxurious lather, rated 5 out of 5. It’s packed with vitamins, great for sensitive skin.
- Aloe Vera Melt and Pour Soap Base: Ideal for combination skin and acne, with a top lather rating of 5 out of 5.
How to Select the Best Soap Base
To pick the best soap base, think about your skin type and what you want from your soap. Shea butter is great for deep moisture. For clear soap with no smell, try glycerin. Aloe vera is good for combination skin and acne, while goat milk is luxurious and creamy.
Remember to consider how easy the soap base is to use and what supplies you’ll need. Melt and pour options are simple, needing about an hour to set. Lastly, don’t forget the value of natural soap ingredients like oatmeal, which offer extra benefits for your homemade soap.
Understanding the Role of Lye in Soap Making
Lye for soap making is essential in turning oils and fats into soap. This happens through the saponification process. This process not only produces soap but also ensures it cleans and takes care of our skin. Knowing how lye works helps soap makers create quality and effective soaps.
Why Lye is Essential
Lye or sodium hydroxide starts the saponification process. Without lye, we can’t make real soap. This makes it a key ingredient in traditional soap making. In the past, soap makers got lye from wood ashes. Now, we get it through the chloralkali process. This method gives us the lye we need for soap making that’s both consistent and safe.
Once saponification is complete, no lye is left in the soap. This shows us how complete the reaction is. It also points to how safe soap making can be when done properly.

Safety Precautions When Handling Lye
Lye solutions can get very hot, up to 200 °F. So, it’s very important to be careful when handling them. You should wear gloves, eye protection, and clothes that cover all your skin. Also, mix lye in a place with plenty of air or even outside to avoid breathing in fumes.
If you accidentally get lye on your skin, it can burn you. You should immediately rinse the area with water for 15 minutes. If it gets in your eyes, rinse them for 15 minutes and then get medical help. Always label lye clearly as “DANGER: LYE. DON’T TOUCH” and keep it stored safely away, especially if you have kids at home.
Exploring Natural Oils and Butters
Natural oils and butters are key in making luxurious homemade soaps. The right oils and butters improve your soap’s lather, hardness, and moisture.
Popular Oils Used in Soap Making
Popular oils are known for their soap-benefiting properties:
- Coconut Oil: It creates a rich lather and cleans well. A recipe might use about 114 grams (4.01 oz).
- Olive Oil: It’s moisturizing and used in large amounts. For example, 227 grams (8.02 oz) might be added.
- Palm Oil: Palm oil makes the soap hard, leading to a longer-lasting bar.
Incorporating Butters into Your Soap
Butters like shea butter, cocoa butter, and mango butter make homemade soaps luxurious. They condition the skin and improve soap texture.
- Shea Butter: Usually, 91 grams (3.21 oz) of shea butter is used for its moisturizing effect.
- Cocoa Butter: This butter makes the soap creamy and hard.
- Mango Butter: It gives a silky texture and helps with dry skin.
To balance your soap, mix oils like olive and coconut oil with butters. A good mix is 20% shea butter, 25% coconut oil, and 50% olive oil. This totals about 454 grams (1 lb) for a small batch.
Essential Ingredients for Homemade Soaps: From Soap Bases to Sweet Almond Oil
Making your own soap lets you choose what goes into it. This way, you can make it just right for your skin. Picking the right natural soap parts is key to good homemade skin care. Sweet almond oil is great for making your skin soft and healthy. It’s an important organic soap ingredient that makes sure your soap is gentle but works well.

- Olive Oil: It’s moisturizing and is in many soap recipes. For example, recipes like Healing Skin Bar and Violet Blossom Soap use 12.5 oz (44.64%) of olive oil.
- Coconut Oil: It’s important for making soap because it creates a lot of foam. Basic soap and healing skin bars recipes have 8 oz (28.57%) of coconut oil.
- Kokum or Cocoa Butter: They make the soap firm and are great for your skin. They are 4 oz (14.29%) of some soap kinds.
- Sunflower or Sweet Almond Oil: These oils help make your skin smooth. Especially almond oil, it’s in many recipes for its fats and vitamins. It’s 3.5 oz (12.5%) in a lot of soap formulas.
The love for sweet almond oil in homemade skin care recipes is clear. It calms and hydrates well, perfect for sensitive skin. With other natural soap parts, it makes a soap that feels luxurious and is good for you.
The Importance of Distilled Water
When making soap, the water you choose is very important. It greatly affects your final product. Distilled water is the best water for soap making because it doesn’t have minerals or impurities. These can mess with the process of turning oils into soap.
Distilled water is clean and doesn’t have things like chlorine, bacteria, or heavy metals that tap water does. These can change how your soap looks and feels. So, using distilled water means your soap will always turn out as expected.

When mixing lye with oils to make soap, minerals in regular water can be a problem. They can stop the chemical reaction from happening right. Whether you’re making soap the cold process way or another method, distilled water keeps your recipe pure.
Take a common soap recipe as an example. It might have a total of 45.45 oz, including 10.2 oz of distilled water. This clean water helps mix 4.2 oz of lye with 31 oz of oils like avocado butter and shea butter correctly.
Also, distilled water makes sure your soap stays clear and looks good. This is really important for soaps made for sensitive skin. By choosing the best water for soap making, you get the best results and keep all the good stuff like essential oils and natural butters helpful.
Adding Scent with Essential Oils
Adding essential oils to your soap is a great way to make it smell good and be good for you. Whether you are just starting or already know a lot about making soap, learning to pick and mix essential oils can make your scented soap making even better.
Popular Essential Oils for Soap Making
There are many essential oils you can use, each with its special benefits and smells. Here are some popular ones:
- Lavender: It’s calming and has a nice floral smell.
- Peppermint: It’s refreshing and perfect to help you wake up.
- Tea Tree: It’s great for cleaning and has a fresh, medicinal smell.
- Eucalyptus: It cools and refreshes at the same time.
- Patchouli: It has a deep, earthy smell and works well with other oils.

Tips for Blending Essential Oils
Blending essential oils is an art and a science. Here are some helpful tips:
- Try small amounts first. Mixing Spearmint Patchouli with 4 parts spearmint and 1 part patchouli makes a balanced scent.
- Know the flashpoints of oils to keep them from evaporating. Eucalyptus, for example, has a flashpoint of 118°F to 120°F.
- Use different oils for a full scent. Mix Lavender Peppermint with 1 part lavender and 1 part peppermint for a nice aroma.
- Citrus oils like sweet orange stay longer in soap when mixed with oils like patchouli.
- Watch out for skin sensitivity. A blend called The Man’s Man, which has 2 parts bergamot, 1 part patchouli, and 1 part cedarwood, should be skin tested first.
DIY soap ingredients like those from Now Brand essential oils are affordable but still good quality. Picking the right essential oils can really change your soap, making it smell amazing.
Enhancing Your Soap with Colorants
Adding color to your homemade soaps does more than just make them look good. It can also make your soap stand out. When picking colors for your soap, think about if you want natural or synthetic ones. It’s key to choose colorants that the FDA approves for safety and quality.

Natural vs. Synthetic Colorants
Natural colorants come from the earth. You can find them in clays and plants. Examples are French green clay and spirulina. They are great for those who want to keep their soap making natural. Synthetic colorants, like micas and liquid dyes, pop with vibrant colors and provide many shades. Both types are safe if they are FDA approved.
Tips for Using Colorants Safely
Keeping safety in mind when using colorants is very important. Here are some tips for a safe soap making process:
- Always wear gloves and a mask to prevent inhaling powders.
- Measure colorants accurately to keep the soap’s texture right.
- Stir colorants well to avoid streaks and get even color.
Following these tips and choosing FDA approved colorants will help your soap making. This way, you can make colorful, safe, and beautiful soap.
Incorporating Exfoliants for Added Texture
Adding natural exfoliants to soap improves its texture and how it works. By choosing and using these bits wisely, you get a soap that not only cleans but also makes skin feel new.
Natural Exfoliants to Consider
Using natural exfoliants keeps your soaps soft on the skin, good for the planet, and efficient. Here are some top picks:
- Oatmeal
- Ground coffee
- Poppy seeds
- Coconut shell
- Walnut shell
Bramble Berry has 19 unique exfoliants for soap crafting. Each kind improves your soap in different ways, meeting diverse skin needs.

Best Practices for Adding Exfoliants
Adding these natural ingredients needs a careful approach to get the texture right and avoid harshness. Here’s how:
- Quantity and Granularity: Find a balance in how much and what kind of exfoliant you use. Using 2% of the base oils for exfoliants can give the perfect scrub effect.
- Layering Technique: Charlene Simon suggests using Quick Mix Oil Blend for a good consistency. This helps spread the exfoliants evenly through the soap.
- Combination of Ingredients: Mixing different ingredients, like shredded coconut and Purple Brazilian Clay at 1% of the base oils each, results in a soap that’s better for your skin.
During a practice session, people tried mixing various exfoliants like blueberry seeds, poppy seeds, and cornmeal. They discovered mixtures that worked best for their skin type.
Adding things like sweet almond oil to soaps enhances their moisturizing ability. Including sweet almond oil at 18% to 20% in a cold process soap formula helps keep the skin soft without losing the exfoliating benefits.
Using Preservatives in Your Homemade Soaps
Making soaps at home is enjoyable and creative. But, it’s key to think about preservatives based on the ingredients and where you keep them. This keeps your soaps in good condition for longer. While many soap-making basics don’t need preservatives, knowing when and how to use them can keep your soaps fresh and safe.

When Preservatives Are Necessary
Bar soaps made with lye and oils usually don’t need preservatives because they have a high pH (between 9-10). But, there are times you might need preservatives:
- Soaps with lots of plants or fresh stuff in them need preservatives to stop mold and germs.
- Soaps kept in damp places might last longer with some extra protection against moisture.
- Liquid soaps should have preservatives, especially if you use distilled water in them. A small amount about 0.5-1% of the total weight works well.
- Lotions and sprays with water in them must have a preservative (1% of the total) to keep them from going bad and to last longer.
Natural Preservatives for Soap Making
If you want to avoid preservatives but still keep your soaps safe and lasting long, try natural preservatives. They keep your soaps free from the bad chemicals often found in store-bought products. Here are some good natural preservatives you can use:
- Grapefruit Seed Extract: It’s good at stopping germs and doesn’t mess with your soap’s natural vibe.
- Rosemary Oleoresin: This stops your soap’s oils from going bad, which means your soap lasts longer.
- Vitamin E: Great for skin, and it also keeps your soap’s oils from spoiling so your soaps stay fresh.
- Essential Oils: Oils like tea tree and lavender add nice smells and also help preserve your soaps.
When adding natural preservatives to your soap recipes, it’s important to find the right balance. Making sure you’re using the right amounts and conditions can make your soaps last and work well.
Sourcing High-Quality Soap Making Supplies
Making soap is both fun and fulfilling. The quality of your ingredients is key to your success. Finding the right places to buy these supplies is crucial. There are many trusted places to find what you need for your handmade soaps.
Specialty stores, including online ones, are great for soap makers. Bramble Berry and Bulk Apothecary are well-known in the soap making world. They don’t just sell materials; they also offer help to soap lovers. They have kits for all skill levels, letting you make everything from simple bars to complex designs. For instance, the Bath Tea Guest Soap Making Kit lets you make up to 24 bars, saving you over $40 and only takes about 2 hours.
Don’t forget local craft stores for soap supplies. Places like Michaels and Joann Fabric and Crafts have the basics you need, such as oils, butters, and molds. They’re perfect for small purchases. Farmers’ markets are also worth visiting. They offer unique, locally sourced ingredients like goat’s milk and essential oils.
It’s important to choose the right suppliers for quality and safety. Using reputable sources improves your soaps in both looks and performance. Whether it’s simple soaps or complex creations, high-quality supplies are essential. With the right resources, your soaps will not only look good but also be kind to the skin.